How can your students feel seen, heard, loved, and part of a community when they haven’t even met you in person?
Invest your time in these five steps – your students and their families will thank you.
1. First Day of Class – Get Acquainted Platform Activity
3. Transition Songs convey your love for your students and a familiar framework for daily lessons.
4. Daily Google Form questions about length of time , I wonder, questions and teacher response.
5. Shortcuts for speedily grading Google Slides with feedback.
Step 1: Teach this lesson and Platform Activity
Teach Day One with free lesson and assign “Get Acquainted Platform Activity” for homework or else make it the activities for Day Two. With over 10,000 downloads, my first day’s lesson is used around the world to successfully start first year students in the target language.
They learn “me llamo” “me gusta” and “no me gusta.”
You can download the free PowerPoint from TpT.
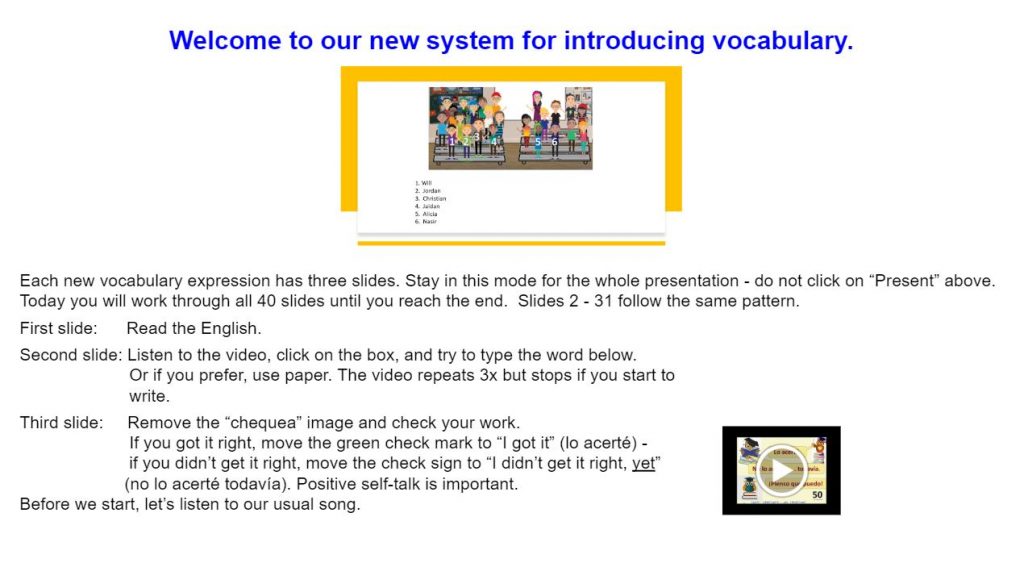
You can download the updated virtual Google™ Slides by joining our newsletter’s Five Day Challenge. Each day you will work on one step and receive a freebie to help you with that step. After five days, you will receive a monthly newsletter with tips for distance learning, teaching with comprehensible input, and teaching with 90% target language. The distance learning/virtual lesson for day 1 has over 50 slides that students can manipulate without teacher assistance. It will give you many ideas for your future lessons, not just the first day.
At the end of this blog, there is an eight minute video of the lesson.
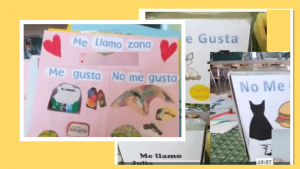
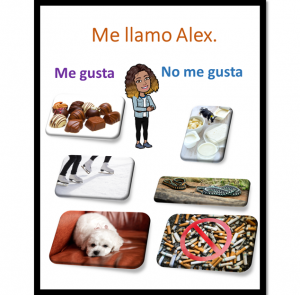
Traditionally, for homework, students share the name they want to be called and their likes and dislikes using either a tissue box or a 8½” x 11” sheet of paper.
Updating it to accommodate distance learning, the students create a slide with the same three elements :
“Me gusta”
“No me gusta”
“Me llamo.”
No other words are included, just images.
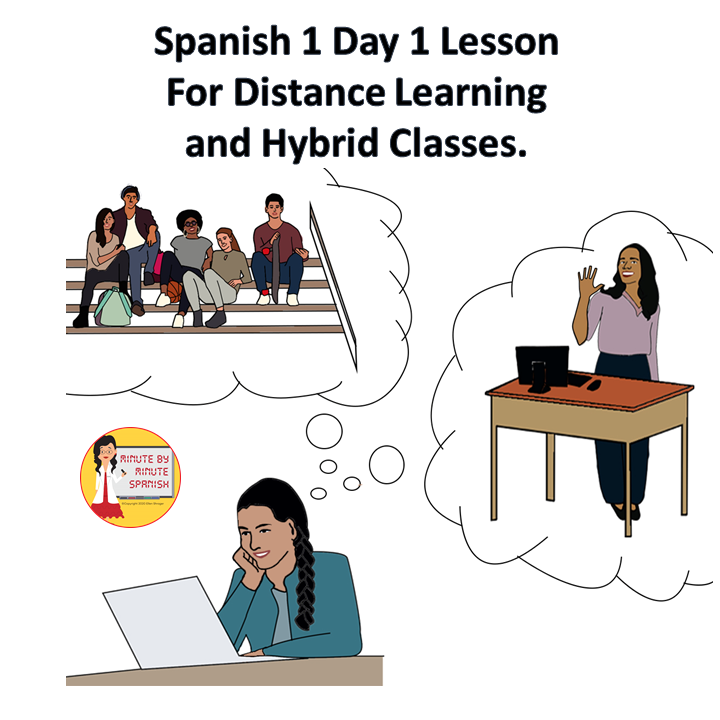
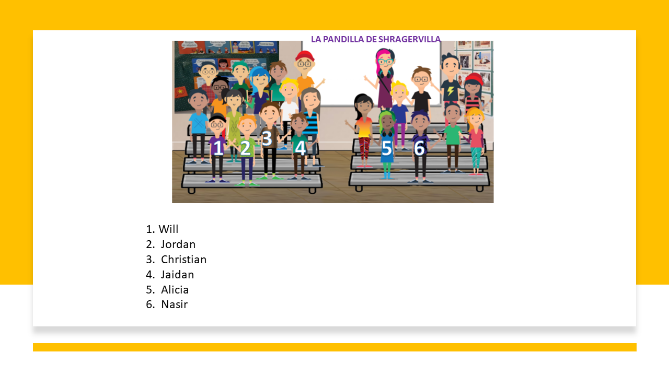
The distance learning page includes one new element: Students create an image of themselves to go on the classroom bleachers in the virtual classroom. Assemble the slides into one Google™ Slide to share with the students. I use a screen capturing software to make it a video for students to review and learn about their classmates.
You decide if the image should be actual pictures or emojis. (I chose emojis because seventh and eighth grade students can be thoughtless and use another’s vandalized image to boost their social media ratings.)
Also choose if you want their names on their emojis or if you want to place numbers on them with the name students use next to the number. This will require a bit of time, but will be worth it for building community. You are going to cut and paste each emoji to the bleacher and I suggest that you save it without the name for the next step.
Your goal is to build community with families., parents and students. When I teach in person, parents send in a form about their child. This year, they will submit a Google™ Form. You can receive a copy of this as a springboard for creating your own when your join our e-mail newsletter above. With parents personalizing your knowledge of their children, let’s continue to build community with students.
First, now that you have your students on the bleachers, name your class. I use the word “pandilla” in Spanish and add villa to my last name. La pandilla de Shragervilla quickly gets shortened to Shragervilla and soon it become our identity.
“In Shragervilla we . . .” “I really miss Shragervilla this year, Profe” “Is Shragervilla going on another virtual field trip?”
So, first, create your class name,
Second, save this as a png o jpeg and insert it into your slide with directions, giving the vibe that these instructions are just for us, Shragervilla.
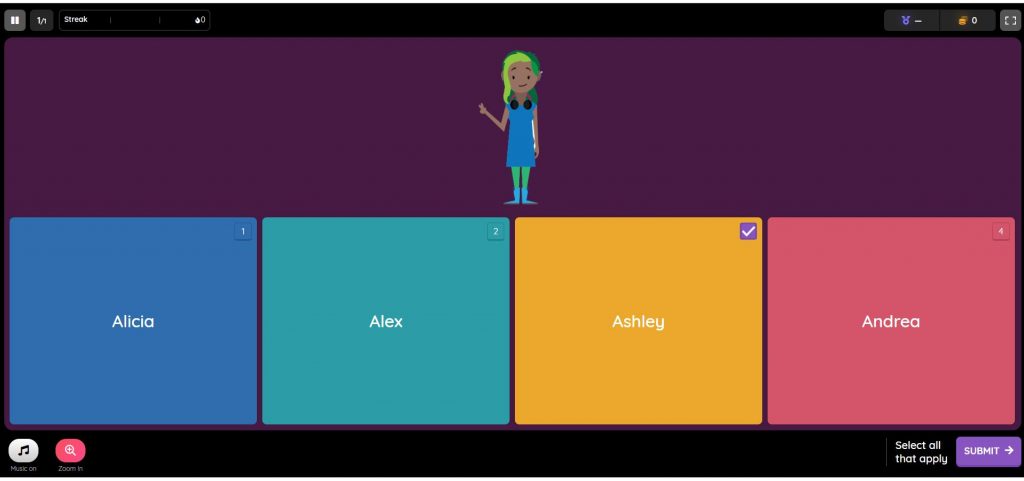
Third, if you are able to dedicate the time that first week, create a Quizlet or Quizizz game using the images and first names for students to learn one another’s names quickly.
Fourth, when creating new worksheets, sprinkle your students’ names in them to keep them actively looking to see if they are included. Students feel seen when their names are mentioned and everyone knows their names.
Students feel loved when teachers use messages that speak of love. You can create your own images, songs, or memes and make them part of your daily routine.
In my class, we start every class with the song snip “¡Hola, M’ijos” and explain ‘m’ijos’ means my children as your students become dear children to you. End each class with the song snip “Recuerdan que los quiero.”
I use transition songs, performed by professional Venezuelan musicians, during my usual forty-five minutes classes because they keep students on task and in the target language. Since my distance lessons are considerably shorter, I use song snips.
BUENOS DIAS PROFESORAV from ellen shrager on Vimeo.
Each song snip is approximately 15 – 20 seconds. The two above are included in the first day’s lesson and “hasta luego” will be sent to our newsletter group.
- Feliz lunes
- Martes
- Miércoles
- Jueves
- Viernes
- Hola M’ijos
- Buenos Días
- Buenos Días Profesora
- Buenos Días Profesor
- Buenas Tardes
- Vamos a leer
- Cierto o falso vamos a escuchar
- Vamos a jugar Quizlet.
- Vamos a jugar Quizizz
- Vamos a jugar Kahoot
- Hoy aprendí
- Vamos a llenar formularios
- Recuerdan los amo
- Hasta luego – cuídense
- Hasta luego – te quiero
- Hasta luego – te amo
- Hoy aprendí
Tell students every day that you love them all, and warm feelings will creep into your class. Students will feel loved.
Starter kit with platform activity and four of the song snips available here.
Step 4: Daily Google Form for Feedback
The penultimate slide plays the snip song “Vamos a llenar formularios” with a link to a quick feedback form. It usually contains a few questions from the day’s lesson and asks four important questions:
- How long did it take you to complete today’s lesson?
- What questions do you have or What do you think I should know about today’s lesson?
- Complete this sentence. “Today I still wonder about. ..”
- How did you experience today’s lesson?
End the Google form with a true false question “I need to return to the Google ™ Slides, answer the last question, and submit them.” Link the Google™ Form back to the slides for the reflection song and the students sharing something specific they learned. A copy of my Google ™ Form will be sent to members of my newsletter group.
Start reviewing the Google™ Forms early in the day to fix any mistakes that the students tell you. I like to make a quick video of my reading the questions and giving the answers. Students feel heard when their questions are answered by the end of the day.
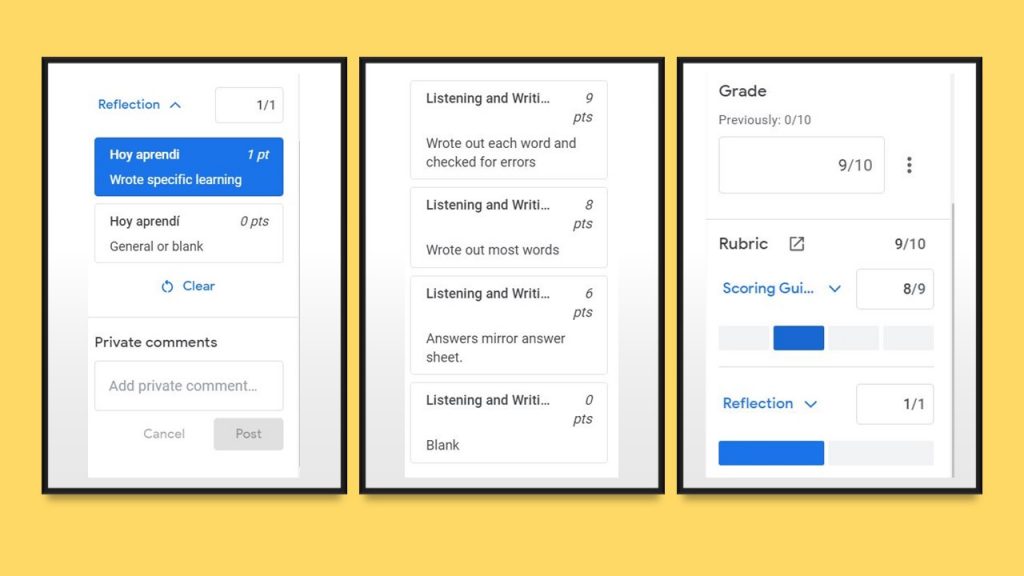
Step 5: Shortcuts for speedily grading Google Slides with feedback.
How I wish back in March of 2020, in one of the umpteen zoom trainings about Google™ apps and extensions, someone had showed me how to quickly grade Google™ Slides with thorough feedback. We couldn’t assign daily deadlines, rather everything was due on Friday by 3:00 p.m. and it all had to be graded with feedback by Monday at 3:00 pm. Tuesdays became our new Saturdays because we worked all weekend. Accurate grading determined attendance yet many teachers gave up on grading the slides.
The key to speedy and accurate Google™ Slide grading is…drum roll, please…a scoring guide for that day’s slides.
Pick your 5 slides that you will grade and create accurate explanations and soon you will be clicking on the rectangles while the scores are automatically calculated. As I start my new lessons, each day there will be a scoring guide included for speedy feedback and grades. Members of the 5 Step challenge will receive what I use for the first day and keep it as a template for future lessons.
fast speedy google grading from ellen shrager on Vimeo.
You can join the 5 Day Challenge!
Want a preview of the first day’s lesson before you download it?
Building Community in Distance Learning Spanish Class from ellen shrager on Vimeo.
